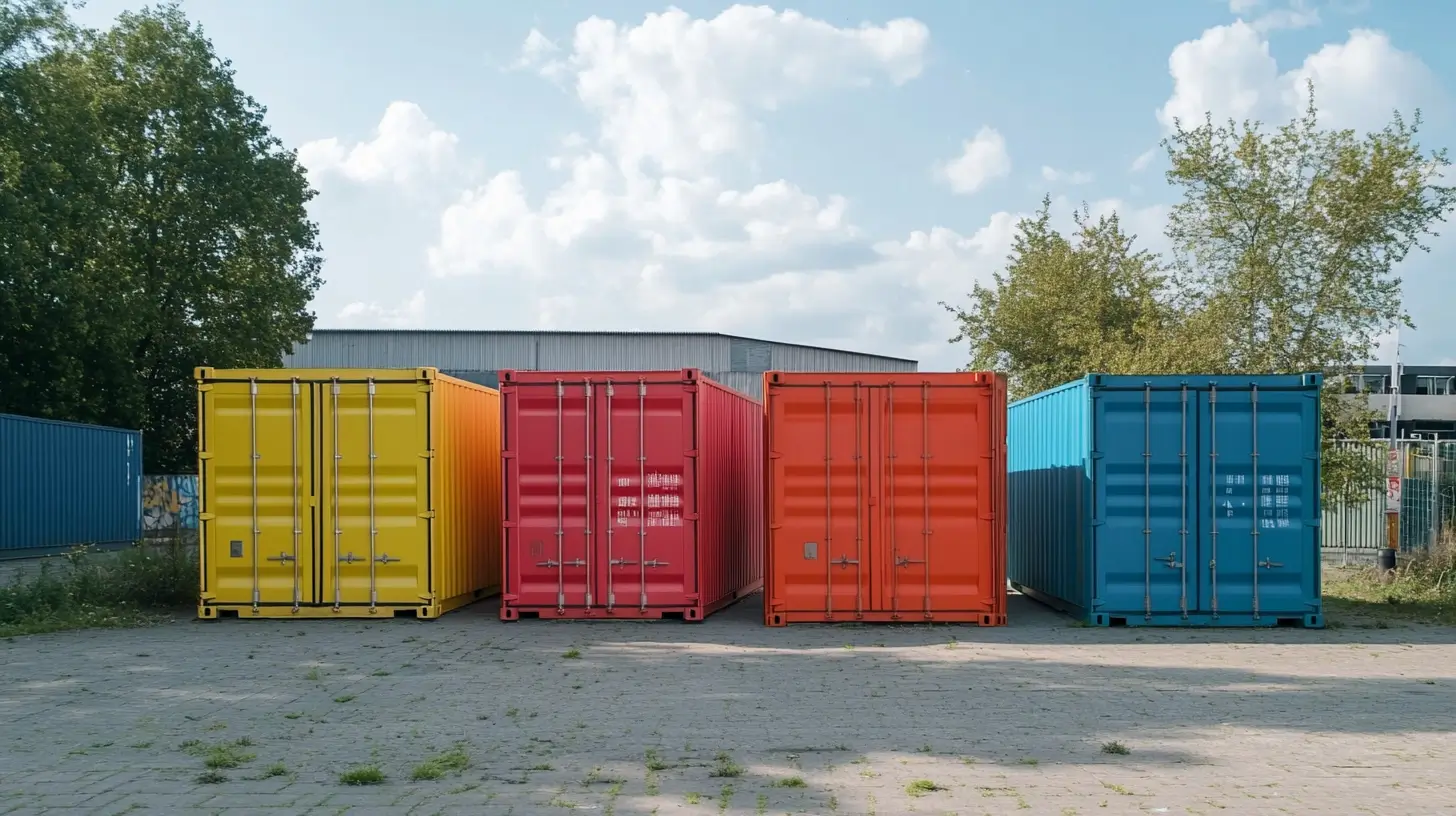
Versatility is the name of the game when it comes to shipping containers. But whether you’re using them for storage, a pop-up bar, or a living space, an access door that’s safe, secure, and easy to open is non-negotiable.
Did you know you can install a door pretty much anywhere on a shipping container? And it doesn’t have to be a standard door either; you can have custom doors made and fitted to your unit as well. This makes using a shipping container so much more convenient than having to open and close the original large steel doors at either end.
Types of shipping container doors
Installing a shipping container door requires you to think about several factors – the main one being what type of door you want to install. Depending on your requirements, you can choose from several different door types.
Custom doors
If you’re creating something unique with a shipping container, such as a living or working space, custom doors are a great option. They offer complete flexibility in installation, with the ability to place them wherever you choose.
Custom doors do not come pre-installed with your shipping container, unless you have ordered a container with bespoke modifications. You will need to plan carefully and visualise your idea to fit the door to your needs.
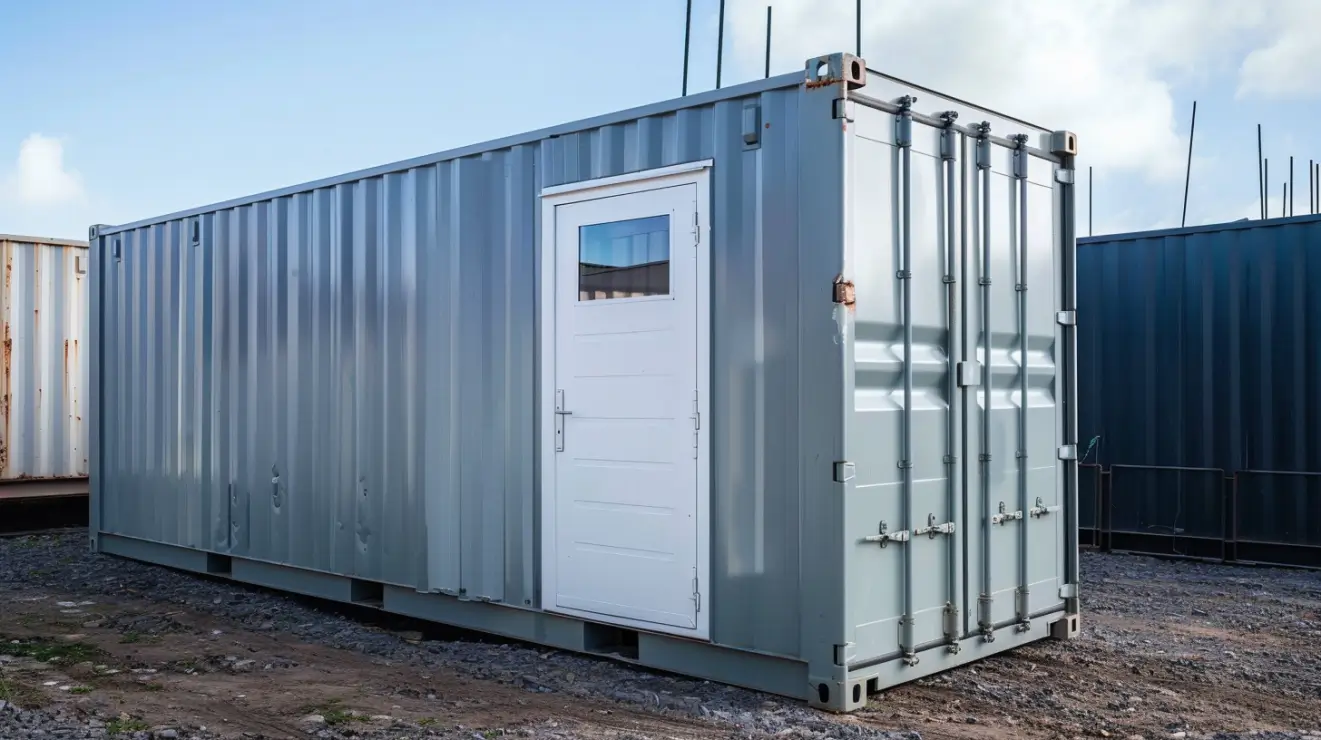
Personnel doors
Personnel doors are highly popular for converting containers into portable offices, workspaces, or even living areas. They’re an efficient option for containers that need to be accessed constantly. While not technically “custom”, personnel doors can be customised to your needs and fitted with bars, locks, or windows to improve security and provide natural light.
Open side container doors
For those who need wider access to the container, open side doors offer an excellent option. With these doors, a full container wall is typically dedicated to the door, making them perfect for food vendors, snack shops, or shippers loading oversized cargo. They can also be installed in 20ft, 40ft, and 45ft high cube containers.
Open side container doors function with a gate opening in folds, containing both the inner and outer folds. The inner folds can be opened alone or alongside the outer folds if wide access is needed. Like other types of container doors, open side container doors can be fitted with locks and lockboxes to protect the contents.
Roll-up doors
Also known as shutter or overhead doors, roll-up doors lift from the bottom and curl up inside the shipping container at the top. They are ideal for small spaces where there may not be enough room to swing large container doors open.
Roll-up doors are a popular choice for those storing large items in freight containers or repurposing them as car storage units like garages. They can be fitted with either a mechanical or electrical opening mechanism, and can be installed anywhere on the container.
Sliding glass doors
Both functional and aesthetic, sliding glass doors are a prime choice for containers being converted into exhibitions, cafes, or retail units. These doors are made with glass but typically have a vinyl coating for extra support.
The key benefit of sliding glass doors is the amount of natural light they allow into a once dark container. This is why they are popular for those building spaces where light is a must. However, while sliding glass doors look great, they are not always the most secure and can be easily smashed and broken into.
Sliding steel doors
Similar to sliding glass doors, sliding steel doors work in the same way but use steel instead of glass and vinyl. Another difference is that they typically slide at the container top, providing full floor-to-roof access.
Combination doors
Depending on how you use your shipping container, combination doors could be a good choice. This method of door installation is becoming a popular choice for people housing shipping containers in a large space where ease of access is required. Offices, living spaces, and other types of container conversions are excellent candidates for a combination of door types.
What equipment do you need to install a door in a shipping container?
Before you can start installing a door in your shipping container, you need to ensure you have all the tools and equipment you may need. Firstly, you need the door that you want to install — this could be a standard door that you purchase, or one that has been custom-made to fit your space.
If you’re planning to install the door yourself, you’ll need several tools for installation, including:
- Tape measure
- Angle grinder or plasma cutter
- Level
- Permanent marker or texta
- Enough 50mm x 50mm steel tubing, or similar, to fit the frame you have cut out
- Clamps
- Welding equipment, including a machine and metal fasteners
- Silicon or weatherproof sealant
Whether you’re fitting the doors yourself or not, safety should be a key priority. This is especially important when carrying out the welding process. You’ll need to make sure you and anyone helping you have appropriate PPE, including:
- Safety gloves
- Safety goggles
- Welding helmet
- Ear defenders
- Steel-toe cap boots
How to install a shipping container door: Step by step
Once you have your container, equipment, and of course, your doors, you can start the installation. It’s important to be aware of your skills and confidence levels when installing shipping container doors. If you don’t feel confident with cutting, welding, or the prospect of installing a door, speaking to an expert installer or having your container customised professionally could be a better option.
But if you’re raring to go, our step-by-step door installation process will help you fit them like a pro.
Step 1 – Plan the door placement
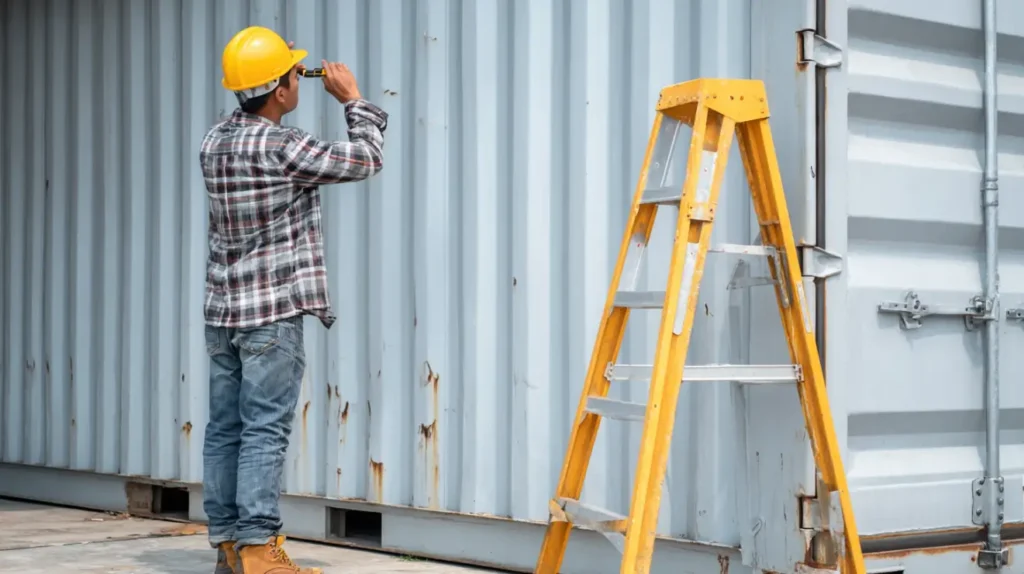
Before you do anything, it’s vital that you properly plan where the door will be placed. We advise choosing a structurally safe location to avoid any structural damage. For example, avoid cutting into the corner posts or main load-bearing beams.
Mark the dimensions and position of the door on the container wall to help with accurate installation. And don’t forget to include space for steel tubing.
Step 2 – Prepare the area
Preparation is key, both in terms of preparing your site and the container itself. So, your next step is to clear both the interior and exterior areas around the cutting zone. Be sure to double-check measurements and ensure you have made level and square markings.
Step 3 – Cut the opening

Once you’re ready, you can start cutting the opening for your container door. An angle grinder or plasma cutter can be used to cut the marked door space. Once you’ve cut the opening, you should leave a little time for the steel to cool before you carefully remove the cut panel. We advise asking for help with this step since steel panels are heavy.
Cut a bit more than you meant to?
Don’t worry! If your “perfect cut” turned into “accidental skylight,” we’ve got you covered. Literally.
We have shipping container panels to cover just about any “oops.”
View PanelsStep 4 – Frame the opening
With your panel removed and the opening clear, it’s time to remove any sharp edges leftover from the cutting process. You can use your angle grinder to do this, smoothing the steel out as you go.
Next, weld or bolt steel tubing or a flat bar around the door opening to reinforce the structure and create a solid frame. Doing this will help to prevent warping while also adding strength where the metal was removed.
Alternatively, you could install a pre-made frame depending on the type of door you are installing. To do this, you’ll want to square up the frame and clamp it into place.
Next, with either frame option, you can tack weld the sides and top of the frame so it’s secure, before using an angle grinder to remove any leftover sharp edges. Finally, apply silicone to all openings between the container shell and the frame to weatherproof it, before removing excess silicone with your finger for a smooth finish.
Step 5 – Install the door
With the frame secure and silicone dry, you can place your door into the opening. If you’re using a pre-hung door, fasten the frame directly into the steel reinforcement. If you’re using a custom-built door, hinges may need to be bolted or welded to both the container wall and the door.
However you choose to install the door, you must follow the manufacturer’s instructions to ensure a correct and effective installation.
Step 6 – Seal and weatherproof
With your door installed, it’s important to apply a quality weatherproof sealant around all frame edges. During this process, make sure any cut metal around the door frame is not susceptible to corrosion by adding a protective sealant that prevents rust from forming. If necessary, and for extra protection, you can install weatherstripping or a drip cap to improve water resistance.
Step 7 – Test the door
Finally, it’s time to test your door to make sure it’s working properly and opens and closes in a smooth motion. As part of your checks, you’ll want to check there are no air and water gaps. If you find any, seal them before you start using the doors regularly.
Tips to keep in mind when installing a door in a shipping container
Fitting a container door is one part of turning your shipping container into the space you envision, but there are several other aspects to consider during installation.
Before carrying out any work, the shipping container must be placed on level ground that is unlikely to shift. You should also clear the working area of hazards, protecting both yourself and anyone helping you with the installation.
If you have chosen a painted container, some paint may strip off as you make the cutout with a grinder. To avoid the mess this could cause, it’s advisable to remove the paint before you start cutting.
Another consideration is the framing and keeping it square after installation. To do this, you may want to tack weld a piece of rebar across the bottom or open end of the frame to reinforce the unit and maintain its structural integrity.
Once the door has been installed, weatherproofing is vital. Silicone is a great first step in preventing leaks and rust, but it’s also a good idea to check for any larger holes or weak spots that might benefit from some added protection.
The bottom line
No matter what type of shipping container door you choose for your unit, correct installation is critical to keeping your doors secure and durable for the long term. Following our guidelines and advice can help your door installation go off without a hitch. But if you’re still not 100% confident in fitting your container doors yourself, our container conversion services are ready to handle it for you.
FAQs
Will adding a door affect the structural integrity of the container?
Yes, cutting out some of the steel wall to fit a door can weaken the structural integrity of the unit, particularly for large or improperly supported doors. You must reinforce the area around the door with a steel frame to maintain strength and durability.
How much does a shipping container door weigh?
Shipping containers are heavy, and standard shipping container doors placed at the end of a container typically weigh 250 to 350 pounds each, although this depends on the container size and type of doors. For smaller doors, such as standard doors, you can expect a much lighter weight.
Can I install a shipping container steel door myself, or do I need professional help?
Shipping container doors can be installed by anyone with basic welding and metalworking experience, the right equipment, and a strong helping of confidence. However, professional installation is always recommended for ensuring structural integrity, watertight sealing, and security.